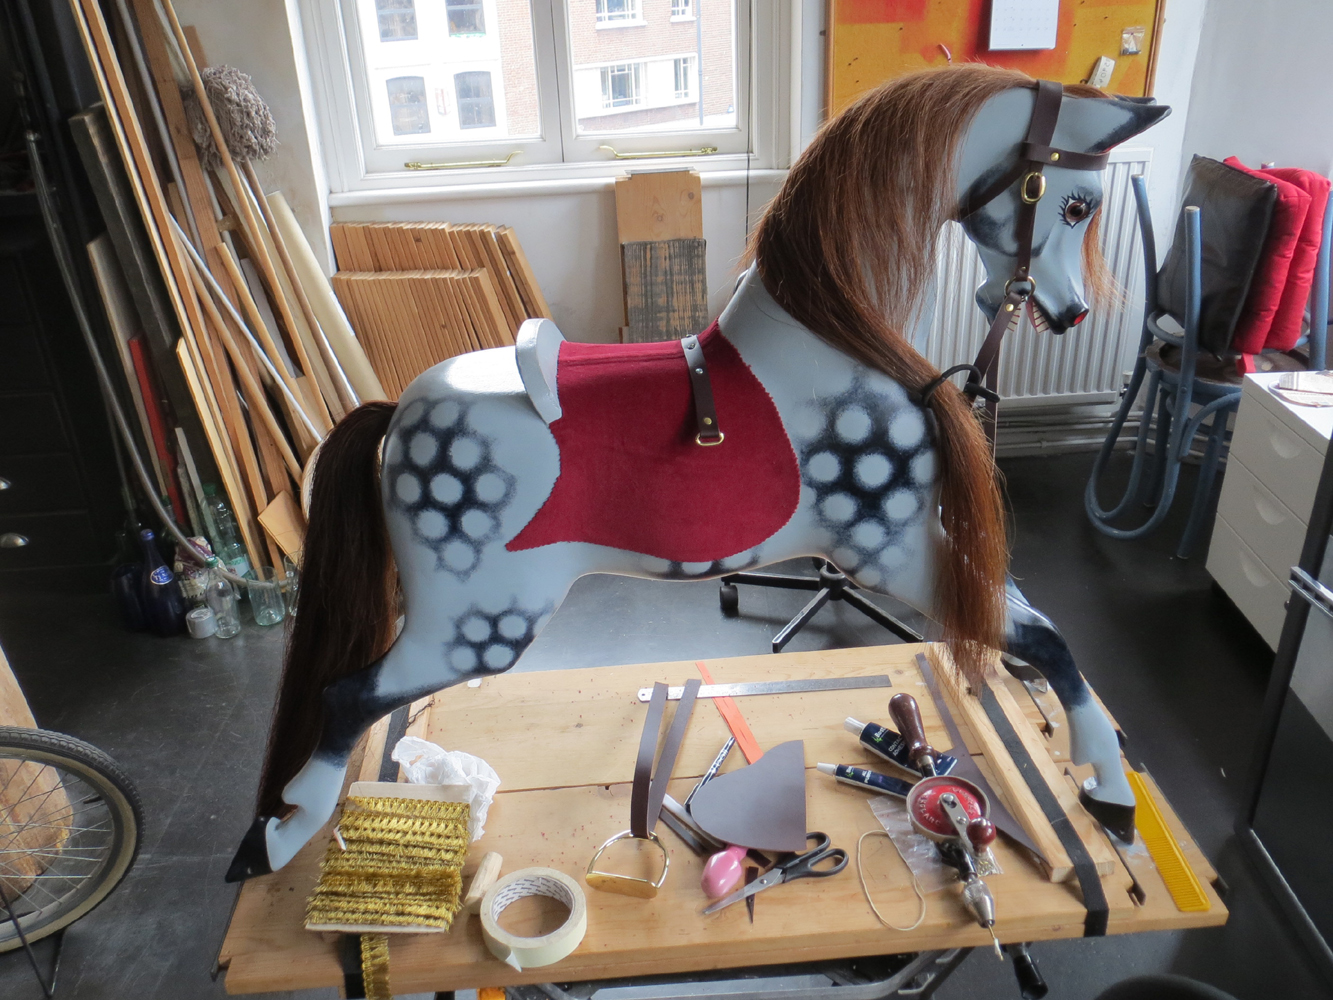
When restoring a rocking horse you have to make hundreds of small decisions along the way as to how you are going to do it. As a jeweller, I'm obsessive about minor details and like to get things right. But sometimes you just can't find a photo of a similar horse in original condition, and you have to plump for one thing or another. The gold fringe, for instance, is possibly more Ayres than J & G Lines - but I couldn't resist the way it looks.
Here are some photos of the process, to show how I made the saddle. I used a staple gun, which was very handy, two types of Bostic and domed upholstery nails. I stitched the saddle on an ordinary sewing machine using a new needle - it only worked if I used the leather forming the underside of the saddle suede side up, as the other side wouldn't feed through the machine. It's stuffed with horse hair which I believe is traditional. I cut the thick leather on a cutting mat with a stanley knife, and used scissors on the soft leather.
The tail strap was surprisingly easy and quick to make. Everything else took ages.
 |
I made paper then fabric patterns of the saddle first
|
 |
I glued on the velvet saddle cloth, smoothing it out as I went.
The strap, screwed in with three screws, is to hold the stirrup leathers. |
 |
| The saddle is made of soft leather, stuffed with horsehair and staple gunned to the horse. |
 |
| These are the saddle flaps, with decorative trim glued on. |
 |
The finished (almost) saddle, with decorative rondel.
I still have to shorten the stirrup leathers and put a couple more studs in the saddle flaps. |


No comments:
Post a Comment